
嗨,大家好!本文是系列文章 Go 技巧第十一篇,系列文章查看:Go 语言技巧。
不知道大家是否遇到打印结构体的需求?
结构体的特点是,它有点像是一个盒子,但不用于 slice 与 map,它里面可以放很多不同类型的东西,如数字、字符串、slice、map 或者其他结构体。

但,如果我们想看看盒子中内容,该怎么办呢?这时我们就要能打印结构体了。
打印结构体的能力其实挺重要的,它能帮我们检查理解代码,提高调试效率,确保代码运行正确。
本文让我们以此为话题,聊聊 GO 语言中如何打印结构体。本文中描述的方法基本也适用于如指针、切片、映射等深层次结构的打印。
让我们直接开始吧!
定义结构体
首先,我们来定义一个结构体,它会被接下来所有的方法用到。
代码如下所示:
 1
 2
 3
 4
 5
 6
 7
 8
 9
10
11
12
| type Author struct {
Name string
Age int8
Sex string
}
type Article struct {
ID int64
Title string
Author *Author
Content string
}
|
我们定义了一个 Article 结构体用于表示一篇文章,内部包含内部实现了 ID、Title 和 Content 基础属性,还有一个字段是 Author 结构体指针,用于保存作者信息。
我将先介绍四种基本的方式。
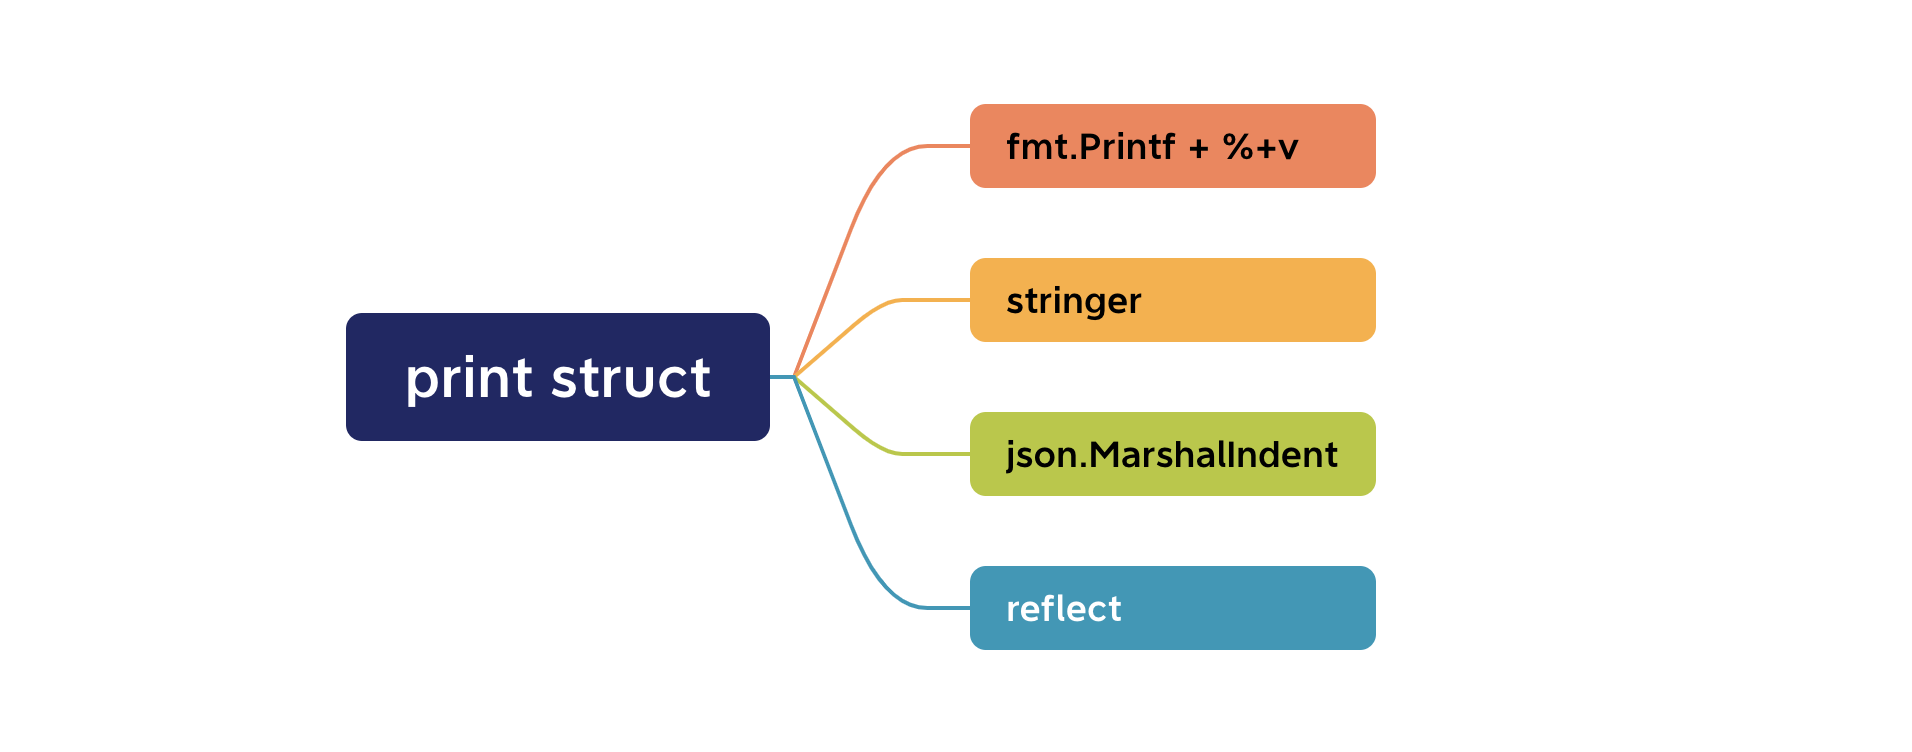
使用 fmt.Printf
最简单的方法是使用 fmt.Printf 函数,如果希望显示一些详情,可和 %+v 格式化符号配合。这样可以直接打印出结构体的字段名和值。
我们可以这样打印它,代码如下:
1
2
3
4
5
6
7
8
9
| func main() {
article := Article{
ID: 1,
Title: "How to Print a Structure in Golang",
Author: &Author{"poloxue", 18, "male"},
Content: "This is a blog post",
}
fmt.Printf("%+v\n", article)
}
|
输出:
1
| {ID:1 Title:How to Print a Structure in Golang Author:0xc0000900c0 Content:This is a blog post}
|
如上所示,这段代码会打印出 article 结构体的所有字段值。不过,如果仔细观察,会发现它的 Author 字段只打印了指针地址 - Author:0xc0000900c0 ,没有输出它的内容。
这其实是符合预期的。*Author 是指针类型,它的值自然就是地址。
如果我就想打印 Author 字段的内容,可通过用 fmt.Printf 打印指针实际指向内容。
1
| fmt.Print("%+v\n", article.Author)
|
输出:
1
| &{Name:poloxue Age:18 Sex:male}
|
我在测试的时候,发现个有趣的现象:
如果打印的是结构体指针,它会自动解引用,即能把内容打印出来。如上的代码所示,无论是
1
| Printf("%+v\n", article.Author)
|
还是
1
| Printf("%\n", *article.Author)
|
都能打印出结构体的内容。
但如果打印的结构体,包含结构体指针字段,则不会将内容打印出来,而只会打印地址,即指针值。
我猜测,如此设计的原因是为了防止深层递归,或者循环引用。

想明白的话,似乎是个显而易见的事情。
实现 String 方法
除了以上将 Author 字段单独拿出打印,我们还有其他方法实现吗?当然有,这就是本节要说的 - 实现 String 方法。
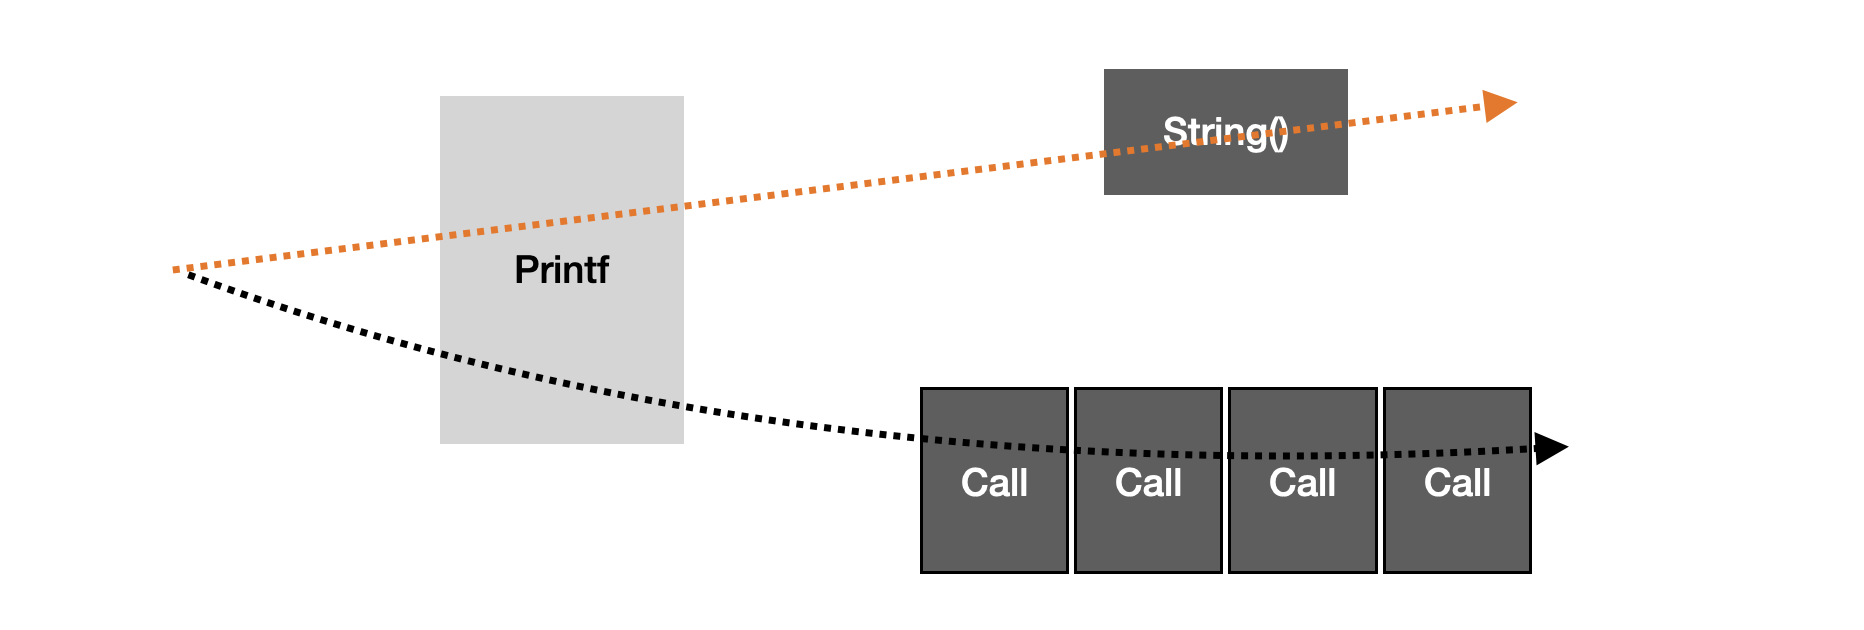
这其实是 Go 提供的一种机制,一个类型如果满足 Stringer 接口,即实现了 String 方法,打印时返回的就是 String 方法的返回内容。
Stringer 定义如下:
1
2
3
| type Stringer interface {
String() string
}
|
当我们使用 fmt.Printf 打印结构体时,就会调用定义的 String 方法,控制结构体的输出格式。例如:
 1
 2
 3
 4
 5
 6
 7
 8
 9
10
11
12
13
| func (a Article) String() string {
return fmt.Sprintf("Title: %s, Author: %s, Content: %s", a.Title, a.Author.Name, a.Content)
}
func main() {
article := Article{
ID: 1,
Title: "How to Print a Structure in Golang",
Author: &Author{"poloxue", 18, "male"},
Content: "This is a blog post",
}
fmt.Println(article)
}
|
输出:
1
| Title: How to Print a Structure in Golang, Author: poloxue, Content: This is a blog post
|
检查结果,的确是 String 方法中定义的形式。现在,我们可以随心所欲定义打印格式了。
这种方式还有一个特点,就是性能高。毕竟,它没有任何啰嗦,直接到拿到结果。
到这里,我们已经有能力打印结构体了。但这里也有些缺点。
首先,不够美观,输出结构易读性差。这不利于快速定位。
其次,每次都要自定义输出。如果只是为了 debug 调试代码,而不是功能代码,希望有更方便方式直接打印。
json.MarshalIndent
首先,如何美化输出呢?
如果你想要一个更美观的输出格式,可以使用 json.MarshalIndent 函数。这个函数会将结构体转换为 JSON 格式,且能控制缩进,使输出更易于阅读。
示例代码,如下所示:
 1
 2
 3
 4
 5
 6
 7
 8
 9
10
11
12
13
14
15
| import (
"encoding/json"
"fmt"
)
func main() {
article := Article{
ID: 1,
Title: "How to Print a Structure in Golang",
Author: &Author{"poloxue", 18, "male"},
Content: "This is a blog post",
}
articleJSON, _ := json.MarshalIndent(article, "", " ")
fmt.Println(string(articleJSON))
}
|
如上的代码中,json.MarshalIndent 的第三个参数表示缩进的大小。我们看下代码的输出吧。
输出:
 1
 2
 3
 4
 5
 6
 7
 8
 9
10
| {
"ID": 1,
"Title": "How to Print a Structure in Golang",
"Author": {
"Name": "poloxue",
"Age": 18,
"Sex": "male"
},
"Content": "This is a blog post"
}
|
以这样美观的 JSON 格式打印的 Article 结构体,明显易读了许多。
reflect 包打印复杂结构
如果想完全控制结构体打印,还可使用 reflect 包。它不仅仅是可以拿到 Go 变量的值,其他信息,如结构体的字段名和类型,都可轻而易举拿到。
这也是为什么可通过 reflect 包最大粒度控制输出格式。
示例代码,如下所示:
 1
 2
 3
 4
 5
 6
 7
 8
 9
10
11
12
13
14
15
16
17
18
19
20
21
22
23
24
| import (
"fmt"
"reflect"
)
func main() {
article := Article{
ID: 1,
Title: "How to Print a Structure in Golang",
Author: &Author{"poloxue", 18, "male"},
Content: "This is a blog post",
}
val := reflect.ValueOf(article)
for i := 0; i < val.NumField(); i++ {
field := val.Type().Field(i)
fmt.Printf(
"Type: %v, Field: %s, Value: %v\n",
field.Type,
field.Name,
val.Field(i),
)
}
}
|
输出:
1
2
3
4
| Type: int64, Field: ID, Value: 1
Type: string, Field: Title, Value: How to Print a Structure in Golang
Type: *main.Author, Field: Author, Value: &{poloxue 18 male}
Type: string, Field: Content, Value: This is a blog post
|
我们输出了字段类型、名称和值。
当然,reflect 提供了灵活性,但具体的打印格式,我们就要自己按需求自行定义。前面介绍的 Printf 函数,内部实现本质上也依赖了 reflect 的实现。
如果想要深度打印信息,即使是指针类型字段,也可通过 reflect 继续深度打印。
代码类似于:
1
2
3
| if field.Type.Kind() == reflect.Pointer {
fmt.Println(val.Field(i).Elem())
}
|
即 Elem() 继续深入它的内部。
当然,如果你希望得到结构体类型相关信息,reflect 甚至可以在结构体没有实例化打印其类型的详情。
 1
 2
 3
 4
 5
 6
 7
 8
 9
10
11
| func printStructType(t reflect.Type) {
for i := 0; i < t.NumField(); i++ {
field := t.Field(i)
fmt.Printf("%s: %s\n", field.Name, field.Type)
}
}
func main() {
t := reflect.TypeOf((*Article)(nil)).Elem()
printStructType(t)
}
|
核心就是那句 (*Article)(nil) 得到一个类型为 *Article 的 nil,避免了内存空间的占用。
性能压测
我尝试了不同的打印方法后,也进行了一个简单的性能测试。

测试结果如下所示:
1
2
3
4
| BenchmarkFmtPrintf-16 2631248 447.3 ns/op
BenchmarkJSONMarshalIndent-16 997448 1016 ns/op
BenchmarkCustomStringMethod-16 5135541 225.5 ns/op
BenchmarkReflection-16 2030233 594.9 ns/op
|
测试结果显示,使用自定义的 String 方法是最快的,而 json.MarshalIndent 则是最慢的。
这意味着如果你关心程序的运行速度,最好使用自定义的String方法来打印结构体。
这里单独提醒一点,因为 fmt.Printf 的内部是使用反射,所以要能测试出 String() 自定义的效果,内部实现就不要用 fmt.Sprintf 等方法格式化字符,而是推荐使用 strconv 中的一些函数。
示例代码:
1
2
3
| func (a Article) String() string {
return "{ID:" + strconv.Itoa(int(a.ID)) + ", Title:" + a.Title + ",AuthorName:" + a.Author.Name + "}"
}
|
这样才能真正意义上测试出 String 自定义的优势。不要套娃,最终得到用了 String 等于没用的效果。
如果想知道为什么 strconv 更快,可阅读我之前的一篇文章:GO 中高效 int 转换 string 的方法与源码剖析
三方库
前面介绍了 4 种打印结构内容的方案,。特别是第四种,提供了最大化的自由度。但缺点是要自定义,非常麻烦。
接下来,我尝试推荐一些好用的三方库,它们将我们常用的一些模式实践成库,便于我们使用。
go-spew
我们首先来看看一个叫做 go-spew 的第三方库。
这个库提供了深度打印 Go 数据结构的功能,对于调试非常有用。它可以递归地打印出结构体的字段,即使是嵌套的结构体也能打印出来。
例如:
 1
 2
 3
 4
 5
 6
 7
 8
 9
10
11
| import "github.com/davecgh/go-spew/spew"
func main() {
article := Article{
ID: 1,
Title: "How to Print a Structure in Golang",
Author: &Author{"poloxue", 18, "male"},
Content: "This is a blog post",
}
spew.Dump(article)
}
|
这样会详细地打印出 article 结构体的所有内容。
输出如下:
1
2
3
4
5
6
7
8
9
| (main.Article) {
ID: (int64) 1,
Title: (string) (len=34) "How to Print a Structure in Golang",
Author: (*main.Author)(0xc000100330)({
Name: (string) (len=7) "poloxue",
Age: (int8) 18,
Sex: (string) (len=4) "male"
}),
Content: (string) (len=19) "This is a blog post"
|
可以看出,上面的输出内容包含的信息非常丰富。
如果希望自定义打印格式,可通过 spew 提供的 ConfigState 配置,如缩进,打印深度。
示例代码:
 1
 2
 3
 4
 5
 6
 7
 8
 9
10
| // 设置 spew 的配置
spewConfig := spew.ConfigState{
Indent: "\t", // 索引为 Tab
DisableMethods: true,
DisablePointerMethods: true,
DisablePointerAddresses: true,
MaxDepth: 1, // 设置打印深度为 1
}
spewConfig.Dump(article)
|
输出:
1
2
3
4
5
6
7
8
| (main.Article) {
ID: (int64) 1,
Title: (string) (len=34) "How to Print a Structure in Golang",
Author: (*main.Author)({
<max depth reached>
}),
Content: (string) (len=19) "This is a blog post"
}
|
因为,我将打印深度配置为 1,可以看到 Author 的字段的内容是没有打印的。
更多能力可自行探索。
pretty
除了 go-spew,还有一些没那么强大,但也还不错的库,方便我们调试复杂数据结构,如 pretty。
 1
 2
 3
 4
 5
 6
 7
 8
 9
10
|
import (
    "fmt"
    "github.com/kr/pretty"
)

func main() {
  // 省略 ...
  fmt.Printf("%# v\n", pretty.Formatter(article))
}
|
输出:
1
2
3
4
5
6
| main.Article{
ID: 1,
Title: "How to Print a Structure in Golang",
Author: &main.Author{Name:"poloxue", Age:18, Sex:"male"},
Content: "This is a blog post",
}
|
输出结果为格式化的结构体输出。
结语
本文主要介绍了 Go 语言中打印结构体的不同方法。我们从简单的 fmt.Printf 到使用反射,甚至是第三方库,我们是有很多选择。
简单主题深入起来,扩展内容也可很丰富。
关于打印结构体这个主题,还有一个部分没有谈到,就是日志如何记录类似结构体等复杂结构类型的变量,毕竟日志对于问题调试至关重要。后面有机会,可单独谈下这个主题。
最后,希望这篇文章能帮助你在打印调试 GO 结构体等复杂结构时,不再迷茫。
感谢阅读。
博文地址:Go 中打印结构体?代码调试效率提升